the

Style Files

Behind the Scenes: The Making of an Alexandra de Curtis Bag

Here's an exclusive sneak peek into what goes on behind the scenes in my handbag workshop in Rome including a step-by-step guide of how my handbags are made - from design to production.

STEP 1: THE DESIGN PROCESS

This is one of my favourite steps as I get to put my initial ideas on paper. I’m not great at drawing, I’m more of a 3D - do it with your hands - kind of person. So, after a quick sketch, I pick up paper and scissors and I start cutting away until I get to the shape I had envisioned. By this point I usually already have a good idea of what kind of leather I’ll be using because certain leathers work best for some shapes, and not so well for others.

STEP 2: THE PATTERN

Once I have a good idea of the shape I want to make, I go and see my trusted team with my ‘paper’ bag and together we create the first prototype. The first step is to create a pattern of the bag, just like you would for a shirt or dress. We deconstruct the bag into carefully measured cardboard pieces which represent the various pieces of the handbag and use these to cut the prototype to size.

"I’m not great at drawing, I’m more of a 3D - do it with your hands - kind of person."

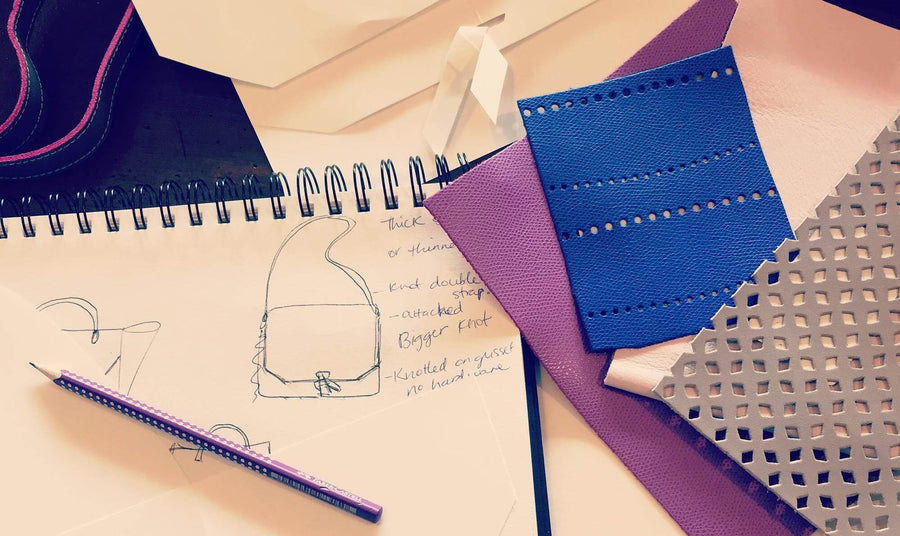
STEP 3: MAKING THE PROTOTYPE 

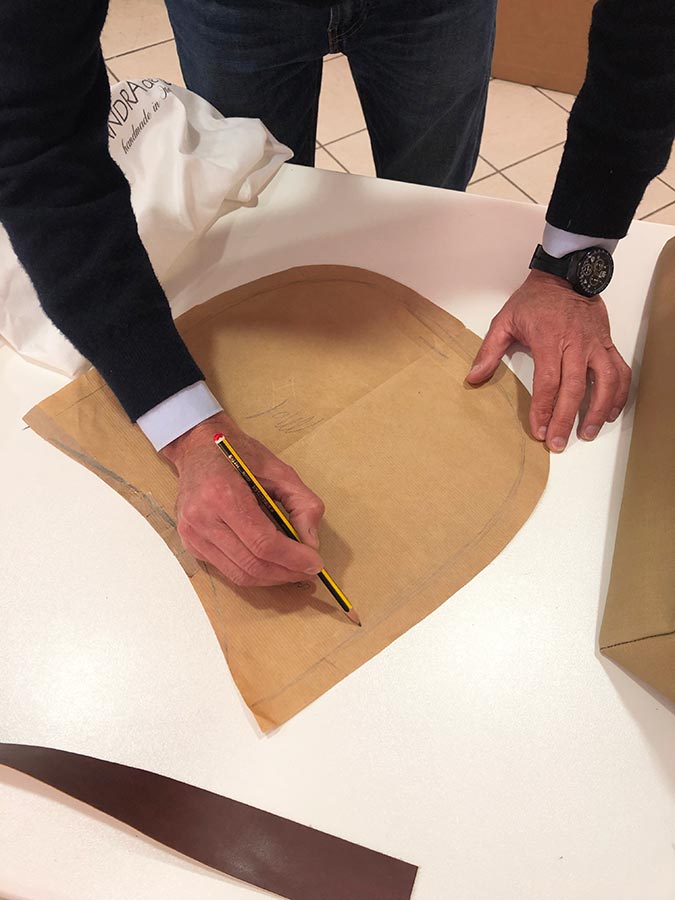
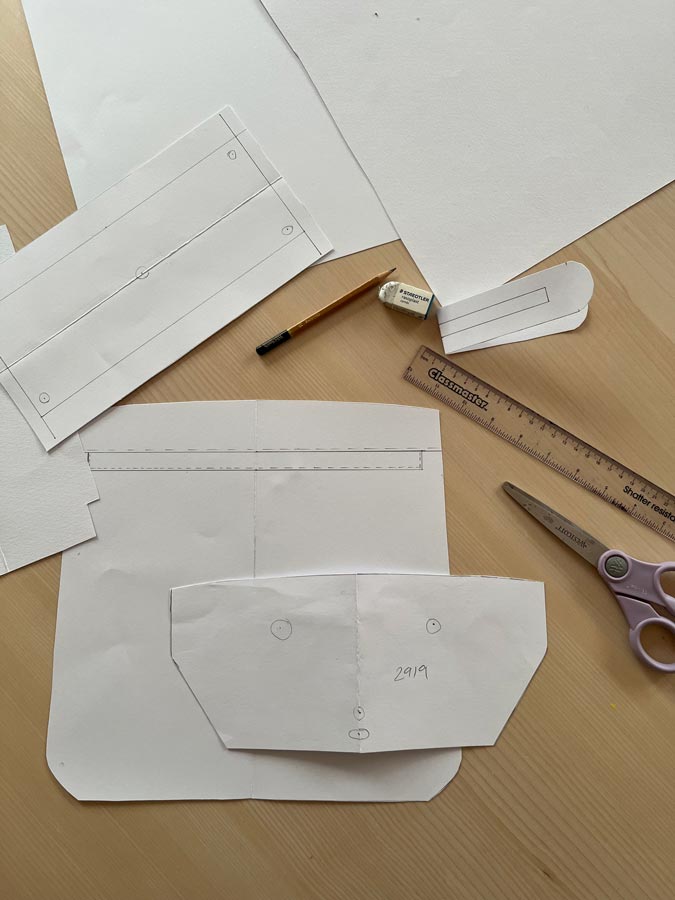
If we're making a completely new style, we’ll start by making a fabric prototype of the bag and stitch it together, otherwise we cut it immediately with the leather I’ve chosen to see if the shape works. This is a crucial step because this is when you see whether the leather will hold the shape or not, so I tend to go straight into cutting the leather sample. 

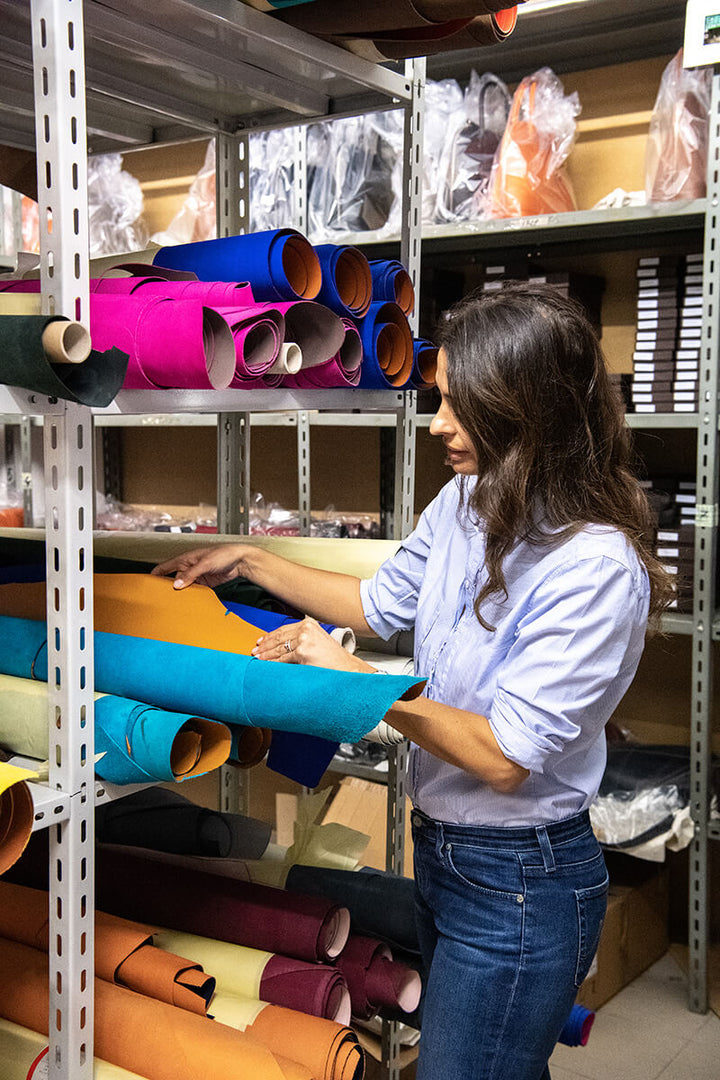
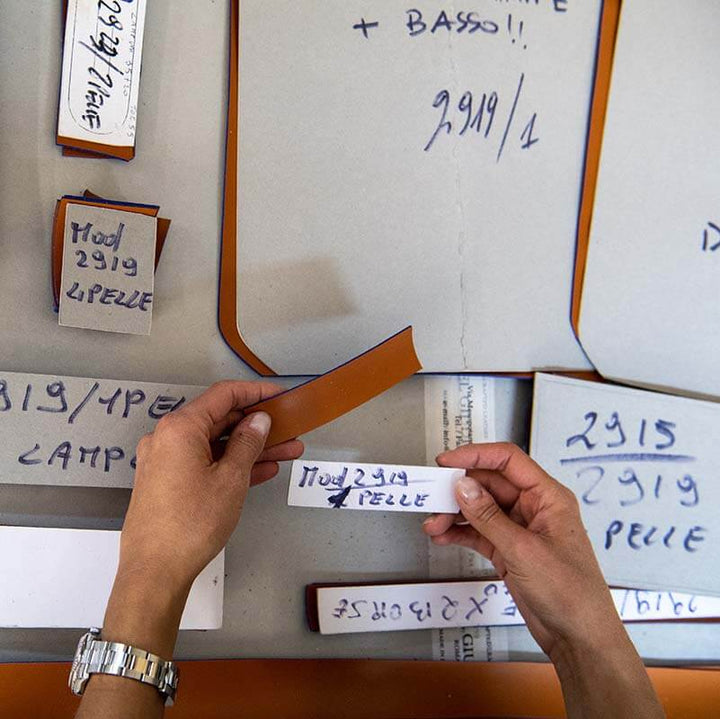
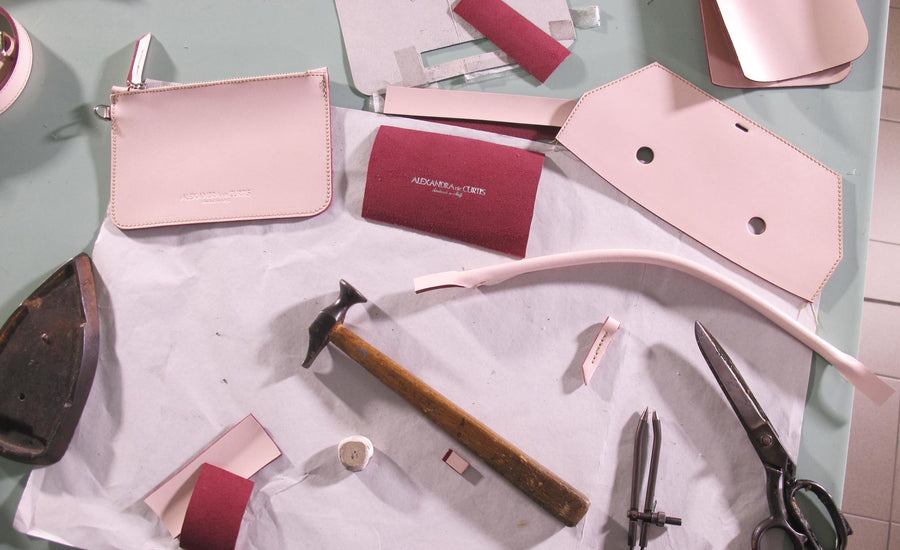
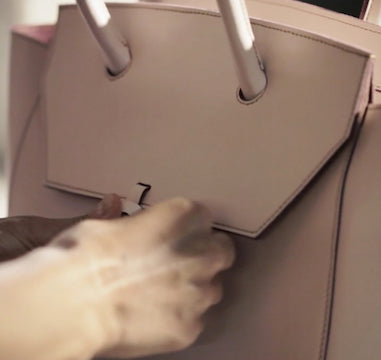
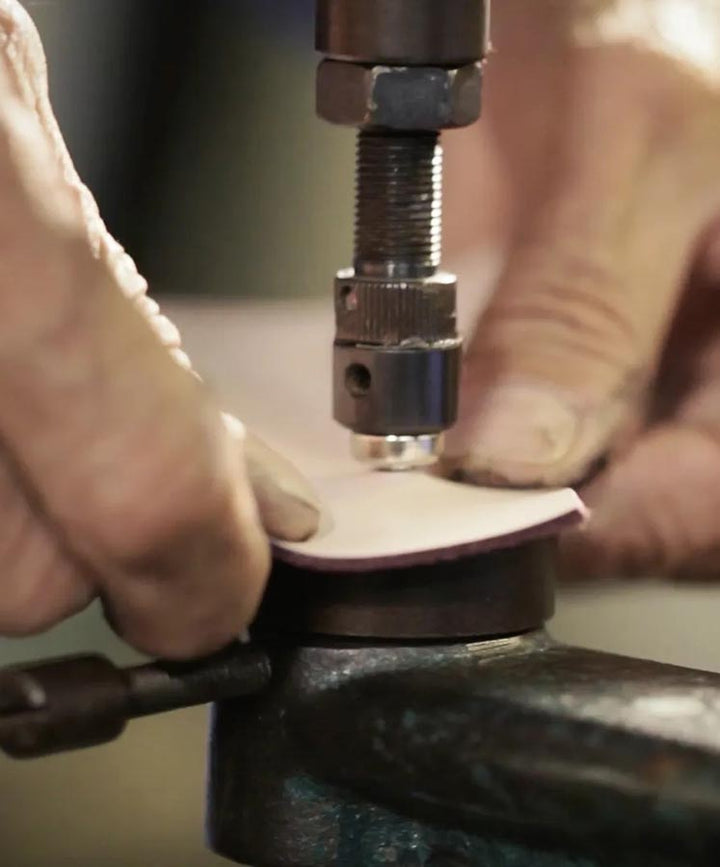
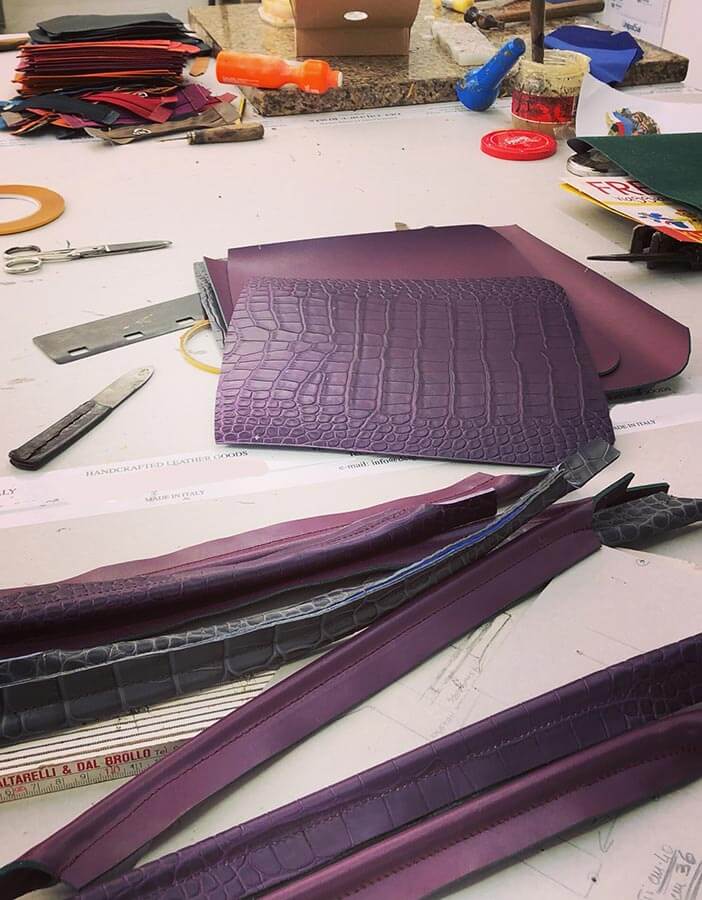
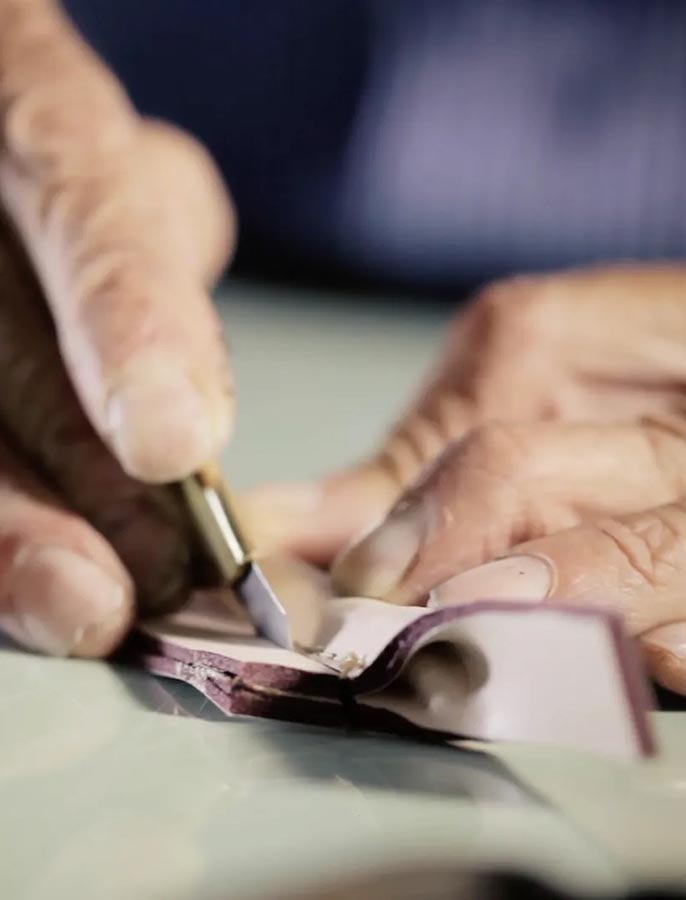
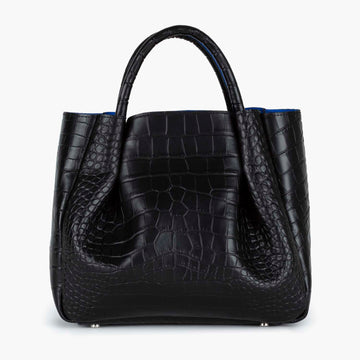
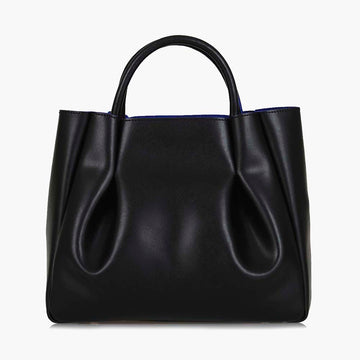
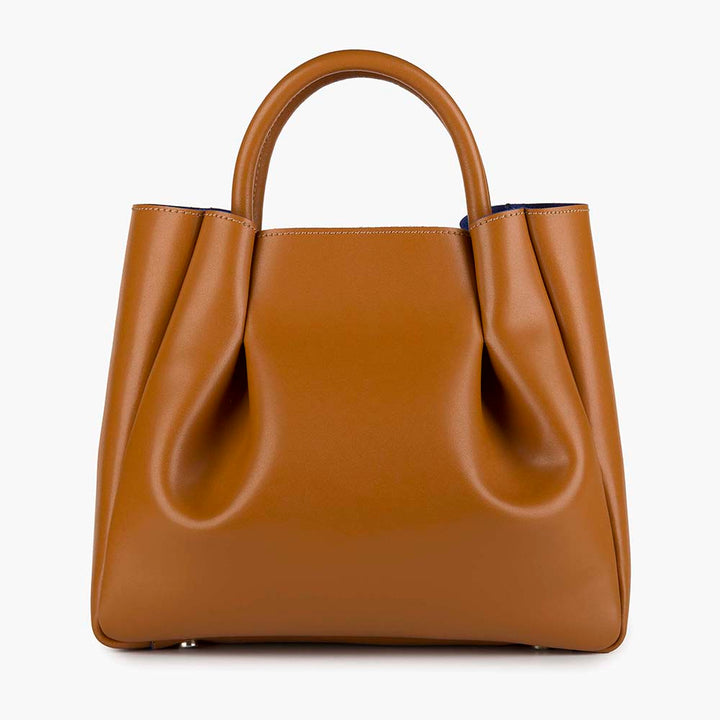
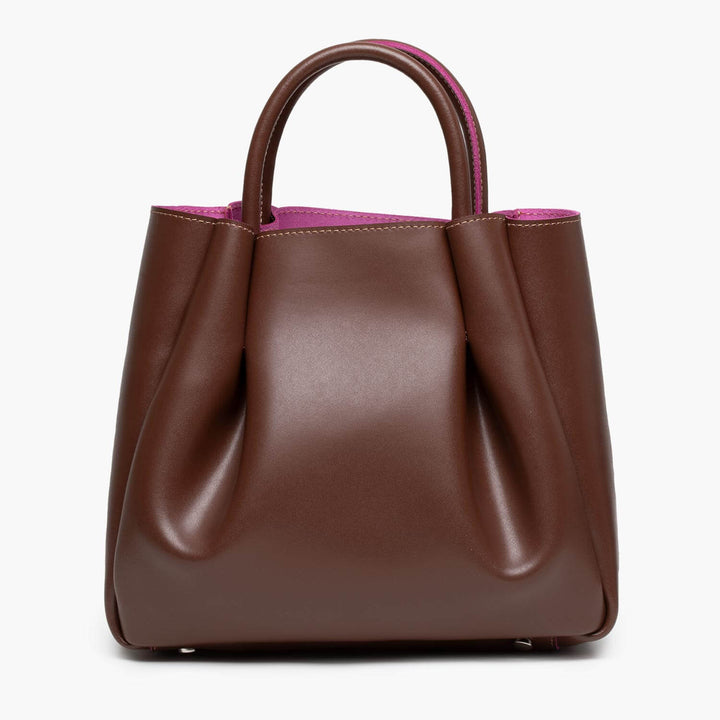
Once everything looks good, (minor changes always happen at this stage), we cut the pattern onto the leather and my team gets to work on the different sections of the bag. Below you can see the handle of the Loren Tote in progress: a rubber tube is placed between two pieces of leather and each end of the handle is reinforced by gluing sections of leather back to back before the leather is sewn together with a sewing machine. Once all the pieces of the bag are cut and glued, the accessories such as zips or studs are attached, and all the pieces are sewn together - it’s a bit like a jigsaw puzzle!

STEP 4: ADDING SIGNATURE FEATURES

This is the final step and where we personalise the bag. Elegant embossing is a distinguishing feature of all my handbags and is done very simply with a press, either plain or with a gold finish. Every bag comes with a removable shoulder strap and a small leather pouch to keep your items from getting lost at the bottom of your bag.

Another distinguishing feature is the leather tie on the flap of the Loren Tote, the Mini Saddle, the Crossbody Clutch, the Bellagio backpack and the Siena Satchel bag. This simple detail embodies the minimal aesthetic and artisanal craftsmanship of the collection. The tie is made with a piece of leather that is cut raw to show the colour contrast of the bonded suede lining against the smooth leather. It’s that pop of colour that will brighten your day whenever you wear one of my bags!

Italy is known for its quality leather and exceptional craftsmanship, but as cheaper
factories abroad have caused many fashion brands to move their production to
other countries, Italian leather artisans are quickly disappearing.

That's why my chief goal is to do my bit to keep this ancient craft alive by keeping my production in Italy, which at the same time, enables me to bring you high quality products and a little piece of my beautiful country to take home with you.


I take great pride in the work that we do in our small workshop. I hope you enjoyed my step-to-step guide to making an Alexandra de Curtis bag. You can view the whole process in our video.

Ciao for now,

Latest Posts